
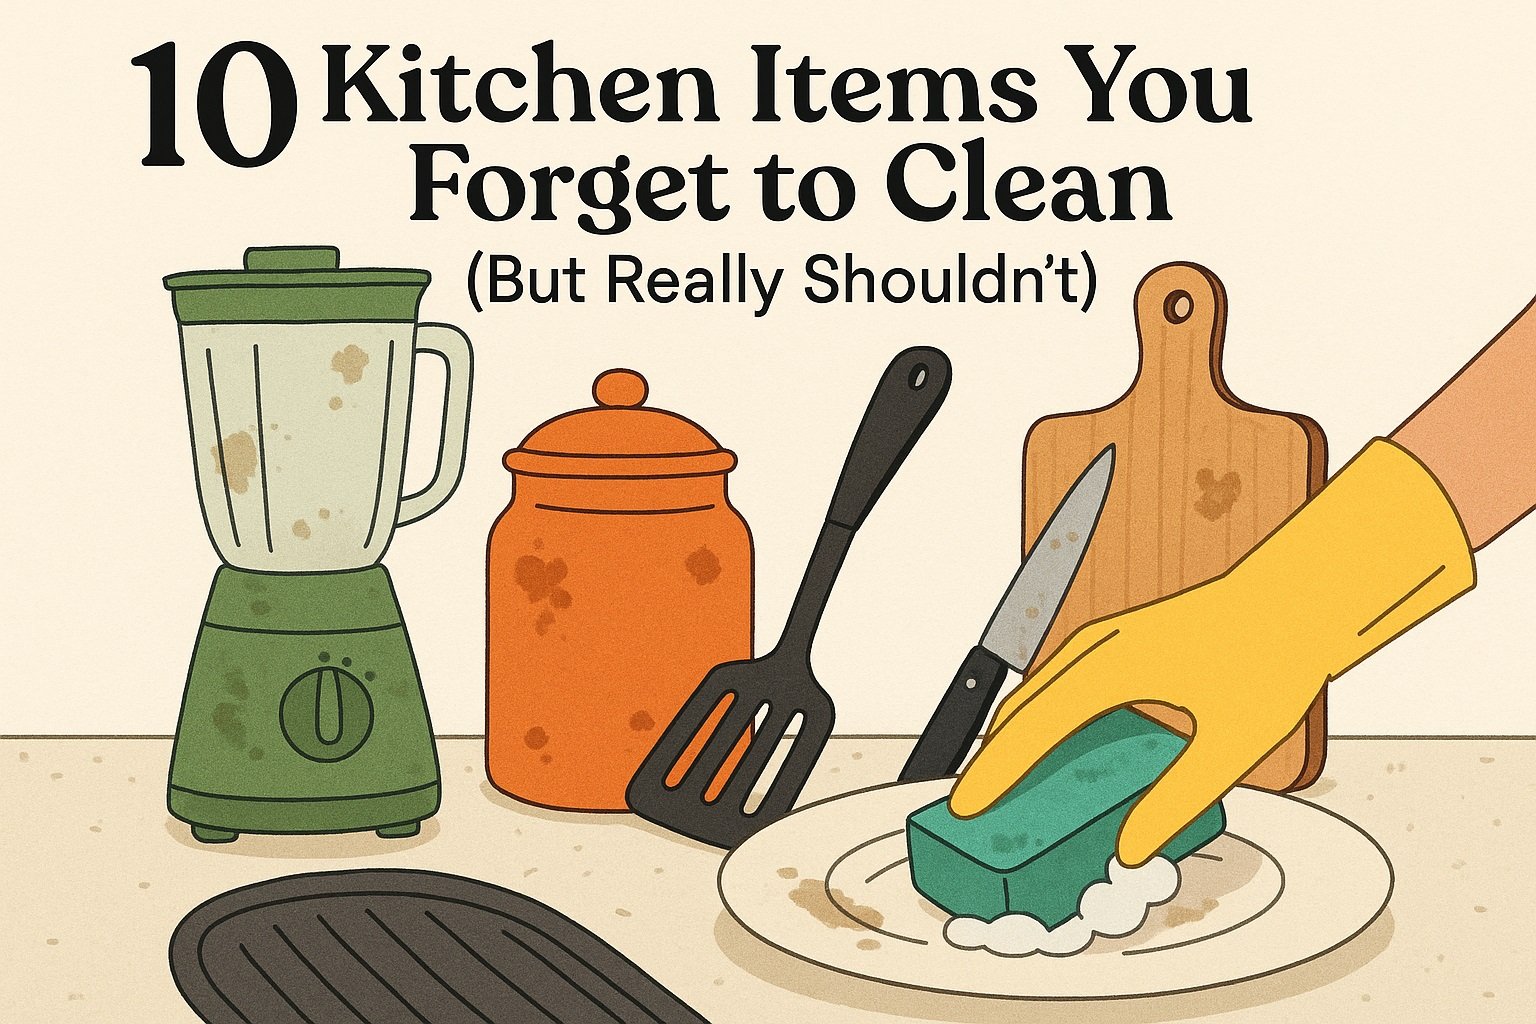
We all know the kitchen is the heart of the home, but even the heart can get clogged up! Between cooking and eating, we often tick off items on our cleaning to-do list and think the job is done. In reality, some spots — and some items — slip through the cracks. Think of these as those “kitchen items you forget to clean” that should definitely make it onto your kitchen cleaning checklist. For example, hidden areas like your fridge coils or appliance seals are out of sight, out of mind, yet a buildup there can waste energy or harbor mold. In this listicle, we’ll walk through 10 sneaky kitchen spots (and tools) that we often overlook. Let’s rethink our cleaning habits together!
1. Refrigerator Condenser Coils (Behind/Under the Fridge)
First up: the back or bottom of the fridge. We clean the door and shelves, but rarely vacuum the coils behind it. Dusty condenser coils make your fridge work harder to stay cool – think higher energy bills or even food spoilage. This is a classic overlooked kitchen appliance cleaning task. We treat it like this: Unplug and move the fridge away from the wall, then vacuum or gently brush the coils twice a year. In other words, add “vacuum fridge coils” to your kitchen cleaning checklist!
- Unplug and pull out the fridge a few inches.
- Use a vacuum crevice tool or coil brush to clear dust and pet hair.
- Plug it back in.
Vacuuming these coils can save energy and prevent compressor strain. Trust us, this invisible clean makes a big difference (and it literally gets your fridge back on track!).
Here’s the tool we trust for this job:

2. Range Hood Filter (Vent Hood)
Next, check above your stove. The vent hood’s filter is another easy-forget spot. Grease and smoke accumulate on the mesh filter, eventually blocking airflow. A clogged hood filter not only lets odors linger but can even become a fire hazard (bacteria love the grease, plus bugs might move in!). This is one of those overlooked kitchen appliances cleaning jobs we often skip. Our fix: clean the mesh filter every few months.
- Pop out the hood’s metal filter.
- Soak it in hot, soapy water or a baking soda + vinegar solution.
- Scrub gently and let it dry before reinstalling.
Dishwasher-safe filters can even go through a hot cycle. Doing this prevents grease buildup, improves ventilation, and keeps cooking smells in check. We learned that a quick soak every couple of months (or more if you fry a lot) keeps our hood working like new.

3. Dishwasher Filter & Inner Parts
You wash dishes, but do you wash the dishwasher? Its internal filter, spray arms, and rubber gaskets get grimy over time. HouseDigest warns that if food bits and soap scum cling to these parts, the dishwasher’s performance nosedives. In other words, its cleaning power is only as good as these hidden parts. We now pull out the dishwasher filter at least monthly and rinse it under warm water (sometimes soaking it) to dislodge stuck debris. We also clear out the drain area and wipe down seals.
- Locate and remove the dishwasher filter (usually at the bottom).
- Rinse it under hot water, scrubbing off trapped gunk.
- Check spray arms for clogged holes and clean those if needed.
- Wipe the rubber door seals and interior walls.
Doing this keeps the dishwasher smelling fresh and prevents mold or odors, as HouseDigest recommends regular sanitation of those inner parts. Think of it as a “deep clean” for your appliance, and definitely add it to the cleaning checklist!

4. Garbage Disposal
The garbage disposal (if you have one) is one kitchen item many of us forget to clean regularly. It’s literally under the sink and often out of sight, out of mind. But food scraps and grease stick to its walls, leading to nasty odors and even clogs. We treat our disposal like any other utensil: weekly cleaning. For us, that means turning off the power, brushing under the sink flaps with soap, then flushing it with baking soda and vinegar.
- Unplug or switch off the disposal.
- Scrub the rubber splash guard (the flaps) with a brush and dish soap.
- Pour in ½ cup baking soda and 1 cup white vinegar, let fizz, then rinse with hot water.
- Finally, grind a handful of ice cubes with a tablespoon of coarse salt (this scours the blades).
This routine stops smells in their tracks and can even sharpen the blades. (HouseDigest’s pro tip: the ice-and-salt trick is great for freshening and blade maintenance.) We mark “scrub disposal” on our list and it saves us from stinky surprises!

5. Toaster (Crumb Tray & Interior)
Our toaster may toast bread, but it’s also a crumb magnet! The crumb tray and inner coils often harbor old crumbs that burn or mold. According to AspenClean, toasters can “house harmful bacteria as well as yeast and mould” if we ignore them. HouseDigest similarly notes that leftover crumbs cause stale smells and even uneven toasting. We now clean the toaster weekly or bi-weekly depending on use.
- Unplug the toaster and let it cool. Pull out the crumb tray (usually at the bottom) and dump all crumbs into the garbage.
- Wash the tray. Soak and scrub it with warm, soapy water, or use baking soda paste for stubborn spots. Dry it thoroughly.
- Shake out and brush. Turn the toaster upside down and gently shake out any loose debris. Use a dry brush (or a damp toothbrush) to carefully clean the interior walls and heating coils.
- Clean the racks. If your toaster has removable racks or trays, give those a soak too.
This regular cleaning prevents burnt crumbs and keeps your toast tasting great. We learned the hard way (burnt toast smell!) – now “clean toaster inside and out” is a must on our kitchen cleaning checklist.

6. Blender Gasket (and Base)
The blender’s base seal (gasket) is a small part we almost never think about, but it can get gross. AspenClean points out that the gasket alone can carry salmonella, E. coli, yeast and mold if food gets trapped under it. We admit: we used to wash the jar and lid and forget the rubber ring. Now, after every batch, we disassemble the blender:
- Remove the gasket. Pop out the rubber/silicone ring between the blade and pitcher.
- Wash the gasket and jar. Scrub the gasket thoroughly with hot, soapy water (a little vinegar won’t hurt). Use a small brush to clean the blade area, then rinse and dry everything.
- Check the base. With the jar off, wipe any spills around the base and under the seal.
This how to deep clean kitchen tools tip keeps our smoothies hygienic. Now we treat the gasket like any cutting board – clean it after each use. Our smoothies stay fresh, and we avoid any weird mold or taste transfer.

7. Microwave Grease Filter & Interior
Don’t overlook your microwave! Over-the-range microwaves have hidden grease and carbon filters. HouseDigest warns to scrub the grease filter every month and replace charcoal filters twice a year. If left dirty, these filters get ineffective and can lead to smoky kitchen air or a funky-smelling microwave. We’ve added it to our routine:
- Remove and soak the grease filter. It’s usually a metal or mesh panel under the microwave. Soak it in hot, soapy water with a dash of baking soda. After 10-15 minutes, scrub gently and rinse.
- Wipe the microwave interior. Clean up any spills or splatters inside and on the door.
- Replace the charcoal filter. If your model has one, swap it out per the manual (they can’t be cleaned, only replaced).
By doing this cleaning hidden kitchen areas task (the microwave vents), we keep the microwave vent working and prevent grease buildup. No more lingering odors or sparks from grease!

8. Hidden Spots (Above Fridge/Cabinets & Under Appliances)
Even a spotless counter can hide grime in high or low spots. AspenClean reminds us that outside eyesight areas – the top of the fridge, microwave, and cabinets – are often forgotten. Likewise, food and dust accumulate underneath or behind appliances. For cleaning hidden kitchen areas, we now include these on our list:
- Above the fridge and cabinets. Use a damp microfiber cloth or duster on top of the refrigerator, microwave, and upper cabinets. Grease and dust build up there, so don’t skip it.
- Under the oven and fridge. If you can, pull appliances a bit to vacuum or mop underneath and behind them. Crumbs and spills like to hide here.
These areas might seem minor, but tackling them prevents a lot of long-term grime. We schedule a quick monthly check-up: if it’s out of sight, mark it on our kitchen cleaning checklist anyway. You’ll be amazed how much cleaner your kitchen feels!

9. Utensils & Cutting Boards (Kitchen Tools)
Let’s not forget the tools we cook with! Spoons, spatulas, tongs and chopping boards all touch food (and sometimes mess), so they need a deep clean now and then. We ask ourselves how to deep clean kitchen tools like wooden spoons and cutting boards, and here’s what we do:
- Wooden boards/spoons: After normal washing, sprinkle coarse salt and rub with a lemon half or a vinegar cloth once a month to disinfect. This removes odors and bacteria from any nicks. We also oil wooden boards after drying to prevent cracking.
- Plastic boards: We wash them as usual, but once a month soak them in a mild bleach solution (or run a hot cycle in the dishwasher) to kill germs.
- Utensils & gadgets: Most utensils just get soap and hot water after each use. For a deeper clean, toss heat-safe items (like silicone spatulas, metal tongs, or wooden spoons) into the dishwasher or soak them in vinegar/water for 10–15 minutes. Sponges? If you use those, microwave a wet sponge for a minute or soak it in vinegar to sanitize (yes, even sponges need cleaning!).
By making these practices part of our routine, we ensure kitchen tools are truly clean. Safe, and a good excuse to give your favorite wooden spoon some TLC.

10. Garbage Can (Trash Bin)
Last but not least: the trash can. It’s the germ magnet of the kitchen, yet it’s easy to forget. AspenClean literally calls it an “irony” that we rarely clean something filled with garbage. Every spill or damp piece of food inside breeds bacteria. Our solution: at least once a month, we take the bin outside and give it a scrub.
- Rinse and scrub. Use a hose or bucket of water. Scrub inside with a long-handled brush, using a mix of distilled white vinegar and warm water.
- Dry completely. Let the can air dry in the sun if possible.
- Disinfect occasionally. A rinse with vinegar or a mild bleach solution prevents odors and germs.
Doing this keeps the whole kitchen smelling fresh and cuts down on flies or mold. We make it a point on our kitchen cleaning checklist – fresh bin, fresh kitchen!

Wrapping Up: We’ve found that the difference between a “clean” kitchen and a really clean kitchen is hitting these sneaky spots. By adding items like fridge coils, hood filters, and even kitchen utensils to our routine, we cover all the bases. Update your kitchen cleaning checklist with these 10 tasks and you’ll raise the bar on hygiene. After all, we cook (and eat!) in here every day – our meals (and our appliances) deserve the best care. Let’s keep cleaning hidden kitchen areas and forgotten items, so cooking together stays fun and safe. Happy cleaning, everyone!