
Organizing your pantry doesn’t just make it look nice – it saves you time and money. No more buying duplicates of what you already have or rummaging through an unorganized pantry for that missing spice. In this guide, we’ll share 10 pantry organization ideas that will transform your cluttered kitchen pantry into an orderly, efficient space. From clever container solutions to space-maximizing shelf hacks, these tips will help you quickly find what you need and keep your pantry neat. Let’s dive in and conquer that pantry chaos!
1. Start with a Thorough Declutter
Begin by emptying your pantry completely. Check expiration dates and purge items you no longer need – stale crackers, expired sauces, or that cereal nobody liked. Group similar items together as you go (cans with cans, baking supplies with baking supplies, etc.). Wipe down pantry shelves to remove crumbs and spills. A clean slate makes implementing new pantry organization ideas much easier. Plus, decluttering upfront creates room for the improved storage solutions you’ll add in the next steps.
2. Invest in Clear Containers for Staples
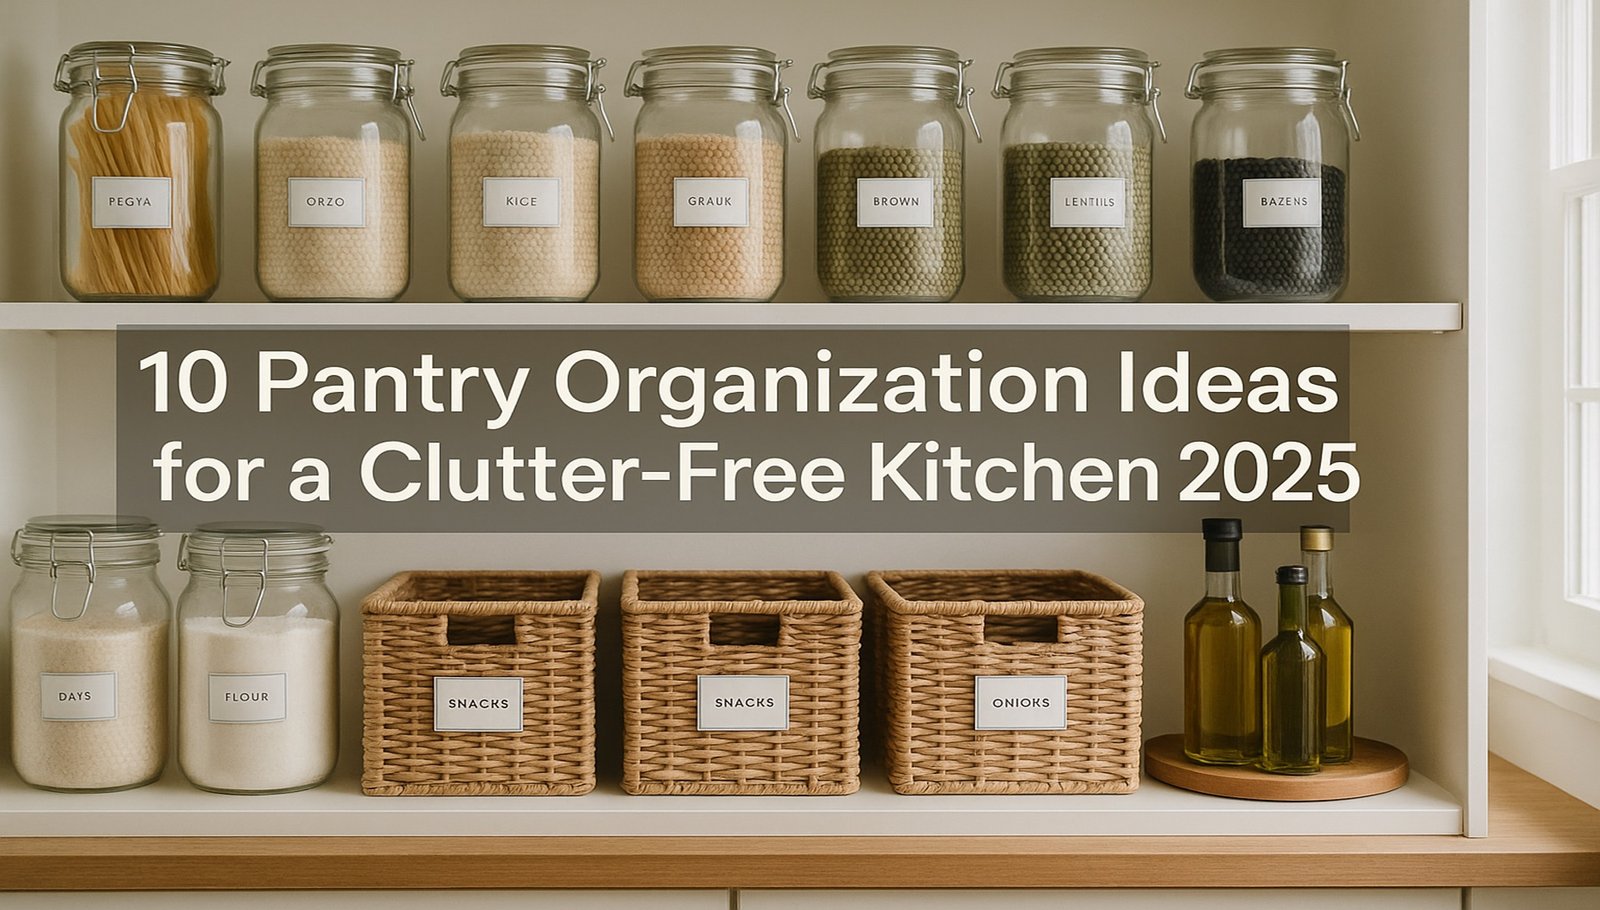
Store dry goods in clear containers like glass jars or plastic canisters. Transfer pantry staples (flour, sugar, rice, pasta, etc.) into these airtight containers. Clear bins let you see what’s inside at a glance, so you’ll know when you’re running low on oatmeal or whether those are pinto or black beans. They also keep food fresh longer and protect against pests. For a cohesive look, use matching containers or jars with labels. This simple swap eliminates unruly half-open bags and gives your pantry a tidy, uniform appearance.
3. Use Baskets or Bins for Grouping
Loose packets and oddly shaped items can make shelves look messy. Tame the chaos with baskets or bins. Use a bin for snacks, another for seasoning packets, and so on. Grouping items by category in baskets keeps them contained and easy to pull out when needed. For example, designate a basket for granola bars and snacks that family members can grab from, or a bin for all your baking mixes. Wicker or plastic baskets add a neat, decorative touch while hiding visual clutter. Don’t forget to label each bin (e.g. “Snacks,” “Baking Supplies”) so everyone knows what belongs where.

4. Maximize Vertical Space with Shelf Risers
Look at your pantry – is there wasted vertical space between shelves? Add shelf risers to instantly double the storage surface. These handy platforms sit on an existing shelf and create a second level. They’re perfect for storing canned goods, spices, or jars in two tiers so you can see everything. No more forgotten items hidden at the back! You can also use stackable shelf organizers or under-shelf hanging baskets to utilize every inch of headroom. By thinking vertically, you greatly increase capacity without needing a bigger pantry.
5. Install Door Rack Organizers
Don’t ignore the pantry door – it’s prime real estate for additional storage! Mount an over-the-door organizer or rack to hold lightweight items. Many pantry door racks come with adjustable shelves or wire baskets ideal for spices, packets, foil and plastic wrap, or even canned goods. This moves small items off crowded shelves and into a visible, easy-access spot. It’s an especially useful hack for small pantry closets. Every time you open the door, all those often-used items are right there at eye level.
6. Label Everything for Easy Finding
One of the simplest but most effective pantry organization tricks is labeling. Use a label maker or clear label stickers to mark containers and bins. Clearly label contents like “Whole Wheat Flour,” “Quinoa,” or “Kids’ Snacks.” When everything has a labeled place, it’s easy for any family member to find what they need and put it back correctly. You can even label shelves themselves (e.g. “Canned Vegetables” or “Breakfast Items”). Good labeling not only looks tidy but also reinforces the organization system, so your pantry stays orderly for the long term.
7. Create Zones for Different Categories
Organize your pantry into logical zones to streamline meal prep. For example, dedicate one shelf as a “Breakfast Zone” with cereal, oatmeal, pancake mix, and syrup all together. Create a “Baking Zone” for flour, sugar, baking powder, chocolate chips, etc. Perhaps a “Snack Zone” at kid-friendly height for after-school nibbles, and a “Dinner Pantry” zone with pasta, rice, canned tomatoes, and spices. By grouping items that are used together, you’ll reduce time spent searching. Need to bake cookies? All ingredients are in one spot. Planning pasta night? Grab everything from the dinner zone in one go.

8. Utilize Can Organizers and Dispensers
Canned goods stack poorly on their own and often end up toppled over. Enter can organizers – tiered racks or gravity-fed dispensers made for cans. These allow cans to sit securely and often use a first-in, first-out rotation, so older cans roll forward. No more three cans of chickpeas hiding behind four cans of soup! Similarly, install a soda can dispenser if you store beverages. These specialized organizers ensure you can see all your canned items, preventing waste and frustration. They also save space by storing cans efficiently in rows.
9. Store Items by Frequency of Use
When deciding where items live, consider how often you use them. Everyday staples should be front and center at eye level. Infrequently used or bulk backup items can live up high or in back corners. For instance, keep cooking oils, salt, and favorite spices on the most accessible shelf since you reach for them daily. Holiday cookie cutters or that turkey roasting pan can go on a top shelf. By prioritizing placement based on use, your pantry will naturally stay more navigable. You won’t be digging past rarely used items to get to daily essentials.
10. Maintain with a Weekly “Reset”
The key to an organized pantry is maintenance. Plan a quick pantry reset once a week. Before grocery shopping, scan the pantry and straighten any misplaced items (put that stray pasta box back in the Pasta zone, etc.). Wipe up crumbs or spills. Take note of staples running low so you can restock. This small routine keeps the system working long-term. According to The Spruce, keeping your pantry clean and organized ensures you can find anything you need in a pinch. A few minutes each week is all it takes to prevent clutter from sneaking back in, so your beautifully organized pantry stays that way.
By applying these pantry organization ideas, you’ll save time cooking and reduce waste from forgotten foods. An organized pantry means stress-free meal prep and a cleaner kitchen overall. Happy organizing!
For more home improvement tips, check out our guide on How to Paint a Room: Beginner’s Guide to Interior Painting – a perfect next step once your pantry is organized and you’re inspired to tackle another DIY project!
Frequently Asked Questions (FAQ) about Pantry Organization
Q1: How do I start organizing a very messy pantry?
A: Begin by completely emptying the pantry. Sort items into groups (e.g. canned goods, baking supplies, snacks) and discard expired products. Clean the shelves, then implement an organization system using the tips above (containers, bins, labels, zones). Starting with a blank slate makes it much easier to see what storage solutions you need for your particular items.
Q2: What’s the best way to keep track of pantry inventory?
A: Label shelves or bins with categories and consider keeping a simple inventory list. You can hang a whiteboard or list on the pantry door to jot down items when they’re running low. Using clear containers also helps – you can see at a glance how much cereal or flour is left. A well-organized pantry naturally makes it easier to monitor your supplies.
Q3: How often should I re-organize or clean the pantry?
A: Do a minor tidy-up weekly (before grocery shopping is a great time). Every few months, take stock of what’s in there – check expiration dates and wipe down shelves. A full re-org isn’t needed that often if you maintain it, but seasonally you might adjust zones (for example, making space for holiday baking ingredients in winter).
Q4: My pantry is very small. Can I still use these ideas?
A: Absolutely! In small pantries, maximizing space is even more critical. Use vertical organizers, door racks, and slim bins to make use of every inch. Even a single cabinet can act as a “pantry” – apply these tips on a smaller scale by grouping items in baskets on each shelf and using risers. A small pantry can hold a surprising amount once it’s efficiently organized.
Q5: What pantry items should not be decanted into containers?
A: While most dry goods do great in airtight containers, certain items like brown sugar (which can harden) or very small grains (that might not pour well) may need special care. You can still decant them, but include a moisture element for brown sugar or choose containers with shaker lids for things like spices or salt. Also, keep track of expiration dates from the original packaging by marking the container with the date or cutting out and tucking the label under the lid. Overall, use common sense – if a container keeps it fresher and more accessible, go for it!